
Section VI. COLLIMATION LEVEL AND LEVER ASSEMBLY
92. General
(2) Inspect all threaded surfaces for worn or
damaged threads. Inspect the prisms for
The collimation level and lever assembly is
chips, scratches, and etchings. Inspect
provided to enable the operator to establish an exact
the collimation lever, prism housing,
horizontal plane and to make precise measurements
carrier, level vial housing, cover, level
relative to that plane.
cover, and sleeve for cracks, bends,
93. Collimation Level and Lever Assembly
dents, burs, and wear.
a. Removal.
(3) Remove all burs and straighten all dents
(1) Remove the illumination mirror (par. 56).
and bends. Replace defective parts that
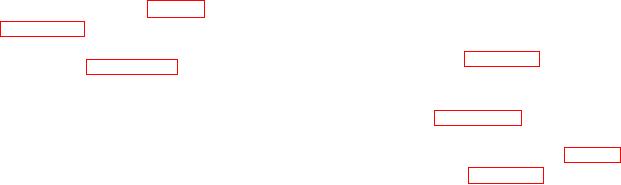
(2) Refer to figure 38 and remove the
cannot be repaired.
collimation level and lever assembly.
d. Reassembly. Refer to figure 39 and reassemble
b. Disassembly.
Refer to figure 39 and
the collimation level and lever assembly.
disassemble the collimation level and lever assembly.
e. Installation.
c. Cleaning, Inspection, and Repair.
(1) Refer to figure 38 and install the
(1) Clean all metal parts with an approved
collimation level and lever assembly.
cleaning solvent and dry thoroughly.
(2) Install the illumination mirror (par. 56).
Brush out all threaded surfaces with a
f. Adjustment. Refer to figure 24 and adjust the
brush dipped in an approved cleaning
collimation level.
solvent. Polish the prism with lens tissue
or with a lens cloth.
57
AGO 5078A